


Setting up your tent properly is one of the most important aspects of a successful camping trip. Not only does a well-pitched tent provide comfort and protection from the elements, but it also ensures your safety during unpredictable weather. A secure and carefully assembled tent can withstand wind and rain while also reducing wear and tear on the materials, ultimately extending the life of your gear. By taking the time to set up your tent correctly, you’re laying the foundation for a more enjoyable and worry-free outdoor experience.
1. Step-by-Step Tent Setup Instructions

Here is the step-by-step process to ensure a smooth, quick tent setup:
Finding the Right Spot
The first thing you need to do is find a flat, dry, and level area. When searching for your tent site, keep in mind that a slight incline can make sleeping uncomfortable. Always avoid areas that are prone to flooding, like low-lying areas where water collects during rain.
Pro Tip: If you are in a windy area, position your tent so that the narrowest side faces into the wind. This helps reduce resistance and prevent the tent from being lifted.
Preparing the Site
Once you’ve chosen your spot, clear the area of rocks, sticks, and other debris. These could puncture the tent’s floor or make sleeping uncomfortable. You may want to use a groundsheet or footprint to protect the tent’s bottom from moisture, rough surfaces, and dirt.
Using a footprint also helps extend the life of your tent by preventing wear and tear. Many tents come with a matching footprint that fits perfectly underneath. If your tent doesn’t have one, you can purchase an affordable option that provides additional protection. For example, the Aosom Tent Footprint is a great choice for ensuring your tent’s base remains intact.
Assembling the Tent Poles and Frame
Most modern tents come with color-coded poles or easy-to-follow instructions for assembly. Start by connecting the poles together and assembling the frame. You’ll want to ensure each pole is securely connected to avoid any instability.
Some tents, like the Aosom Pop-Up Tent, take this a step further with an innovative design that allows you to set up in mere minutes. These tents use a unique folding mechanism, perfect for campers who want to spend less time setting up and more time enjoying nature.
2. Choosing the Right Tent
The right tent for your camping trip depends on the type of adventure you’re planning. Factors like tent size, weather conditions, and ease of setup should all be considered when choosing your shelter.
Tent Size and Capacity
Choosing the correct tent size ensures that you and your group will have enough space to sleep comfortably. Tents come in various sizes, from 2-person models for solo travelers or couples to 6-person tents for larger groups.
| Tent Size | Ideal For | Capacity |
| 2-Person Tent | Solo campers or couples | 2 people + gear |
| 4-Person Tent | Small family or friends | 4 people + gear |
| 6-Person Tent | Larger families or groups | 6 people + gear |
For instance, the Aosom 4-Person Tent offers ample room for a small group, with enough space for sleeping bags and gear. It’s designed to be quick to assemble and durable enough for all kinds of weather conditions.
Tent Types and Features
- Dome Tents: Ideal for general camping. They are lightweight and provide great stability, making them perfect for a variety of weather conditions.
- Cabin Tents: Larger, with more standing room, and typically designed for families. These tents often come with multiple rooms for extra privacy.
- Tunnel Tents: Long and spacious, offering excellent ventilation and storage options.
The Aosom 6-Person Dome Tent is an excellent choice if you are looking for a spacious yet portable tent that can be set up quickly. It’s designed to withstand the elements and has a roomy interior for group camping.
3. Weather Protection: Staying Dry and Comfortable
One of the most important features of any tent is its ability to protect you from the elements, especially rain and wind.
Rainfly Setup Tips
The rainfly is an extra layer that covers your tent, providing additional protection from rain and wind. Make sure to attach it properly to the frame, ensuring it covers the entire tent. Tautness is essential — any slack can lead to water pooling on the fabric, which could cause leaks.
For tents like the Aosom Waterproof Tent, the rainfly is built to provide maximum coverage and is easy to attach. It’s designed with durable waterproofing to keep you dry even during heavy rainfall.
4. Quick Setup Tips for Busy Campers
Speed is of the essence when setting up camp. The quicker you set up, the more time you have to relax and enjoy your surroundings.
Practice and Pop-Up Tents
Practicing setting up your tent ahead of your trip can save a lot of time. Familiarity with the process makes it easier and faster once you’re out in the field.
Pop Up Camping Gazebo, are a great option for those who prioritize quick setups. With a simple unfolding design, they’re perfect for beginners or campers on the go.
Features That Speed Up Setup
Some tents include color-coded poles, pre-attached rainflies, or easy-to-pitch frames that reduce the time it takes to assemble your shelter. Pay attention to these features when choosing your next tent.
5. Common Tent Setup Mistakes to Avoid
To ensure that your tent setup goes smoothly, it’s important to avoid some common mistakes that can make your experience difficult.
Common Errors
- Not staking the tent properly: Tent stakes should be driven into the ground at a 45-degree angle. Improper staking can lead to instability.
- Overcrowding the tent: While it may seem convenient, overcrowding the tent with gear can limit ventilation and create an uncomfortable sleeping environment.
6. Choosing the Right Tent Accessories
Enhancing Your Tent with Essential Accessories
Elevate your camping experience by adding simple yet effective accessories that can improve comfort and functionality. From extra storage to weatherproofing, these small additions make a big difference.
Maximizing Tent Stability: Stakes and Guy Lines
When the wind picks up, your tent’s stability becomes a priority. Stakes and guy lines are your first line of defense. The right stakes keep your tent grounded, while guy lines provide extra tension for added security in stormy conditions.
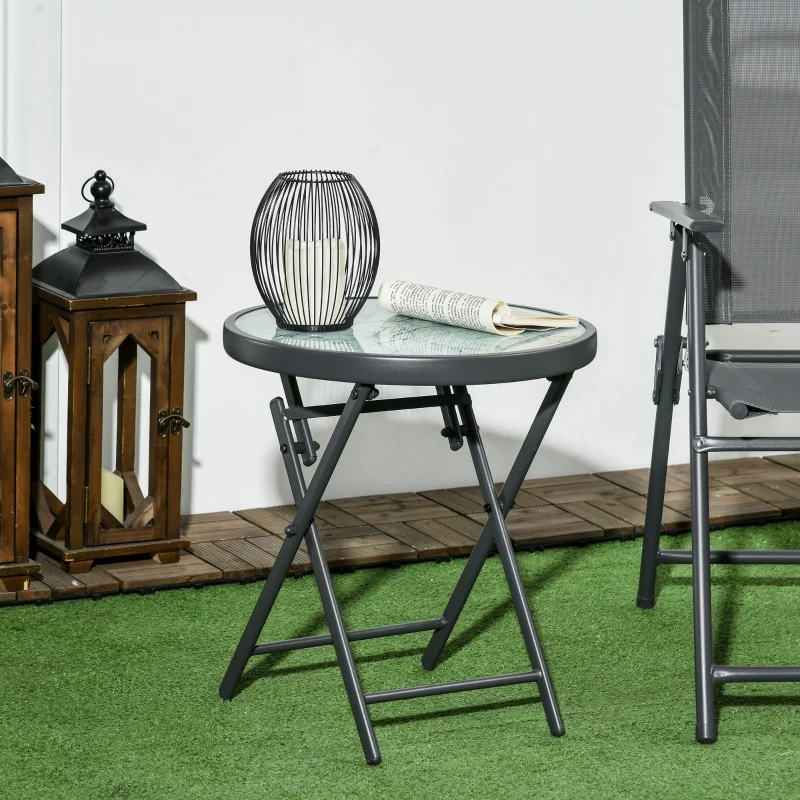
Protecting Your Tent Floor: Ground Sheets and Footprints
A tent’s floor is vulnerable to damage from rocks, twigs, and moisture. Ground sheets or footprints are protective layers that extend the life of your tent, keeping it dry and reducing wear. They’re easy to pack and essential for long-term care.
7. Durability and Stability: Ensuring a Long-Lasting Tent
Choose Durable Materials
Look for tents made with high-quality, reinforced fabrics that are designed to withstand wear and tear. Fabrics like ripstop nylon or polyester are popular because they’re resistant to tearing and punctures.
Sturdy Poles
The poles of your tent play a crucial role in providing structural support. Opt for tents with aluminum or fiberglass poles, which are lightweight yet strong enough to handle wind and other challenging conditions. Avoid tents with weak or flimsy poles, as they can break or bend easily.
Weather Resistance
A tent that’s designed to handle various weather conditions (rain, wind, sun) will last longer. Look for features like waterproof coatings, strong guy lines, and wind-resistant designs to ensure your tent stands up to whatever nature throws at it.
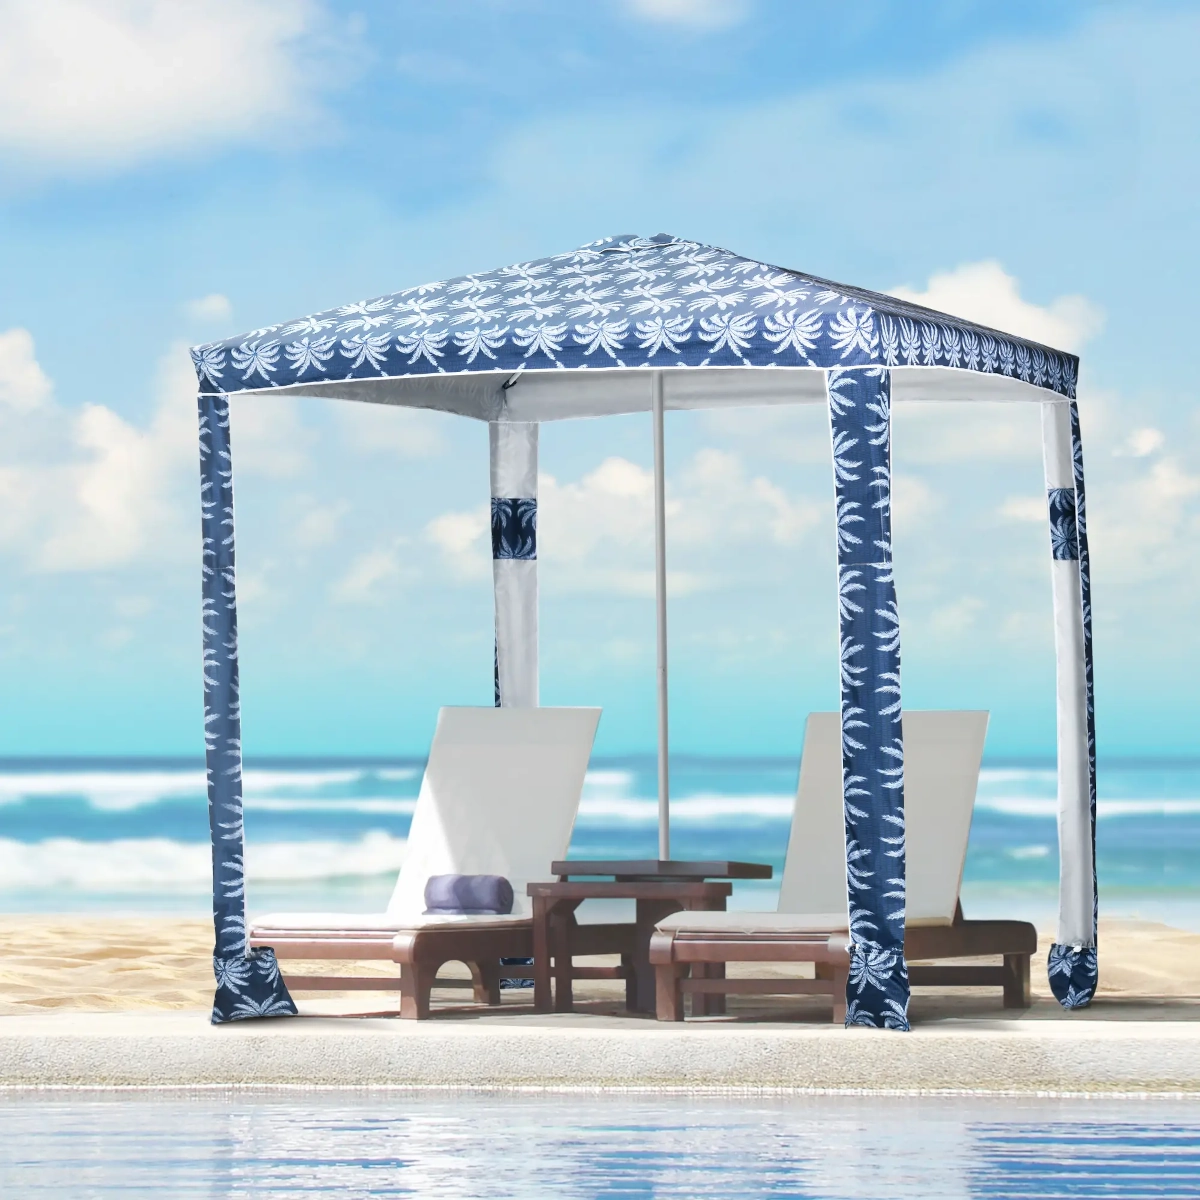
Outsunny 12’x10′ Patio Gazebo, designed for long-lasting durability with a sturdy steel frame and a weather-resistant soft-top canopy. The double-vented roof allows better airflow, while the removable mosquito netting keeps bugs away for a comfortable experience. Perfect for backyard gatherings, patio lounging, or outdoor dining, this gazebo combines style, functionality, and durability for years of enjoyment!
8. Tent Setup for Challenging Weather Conditions
Knowing how to handle challenging weather conditions can make or break your camping trip.
Handling Wind
To reduce wind resistance, orient your tent with the narrowest side facing into the wind. Use extra stakes and guy lines to add stability.
Dealing with Rain
Make sure your rainfly is properly installed, and ensure that your tent is staked firmly to avoid leaks and water buildup.
9. FAQs
1. How long does it take to set up a tent?
It typically takes 15-30 minutes to set up a standard tent, depending on your experience. Pop-up tents are faster, usually requiring under 5 minutes. More complex tents may take longer, especially if you’re unfamiliar with the setup process.
2. Can I set up my tent on any surface?
For the best stability, set up your tent on flat, dry ground. Avoid rocky or uneven terrain, as well as areas prone to flooding. Using a groundsheet or footprint helps protect the bottom of your tent and adds insulation from the ground.
3. What if it rains while I’m setting up my tent?
To stay dry, it’s helpful to have your rainfly pre-attached before setting up, especially in rainy conditions. This provides immediate protection from rain while you complete the setup process, ensuring your gear stays dry.
4. How do I prevent my tent from collapsing in the wind?
Properly stake your tent and use guy lines to add extra stability. Ensure the poles are securely locked and the rainfly is tightly attached to prevent it from catching the wind. This will help maintain the tent’s structure in windy conditions.
5. What is the best way to store my tent after use?
Always clean and dry your tent thoroughly before storing it. Keep it in a cool, dry place, away from sharp objects or heavy pressure. Avoid leaving it packed for long periods to prevent mildew growth and material degradation.